Mounting a Vehicle Awning to a Roof Rack – Step-by-Step
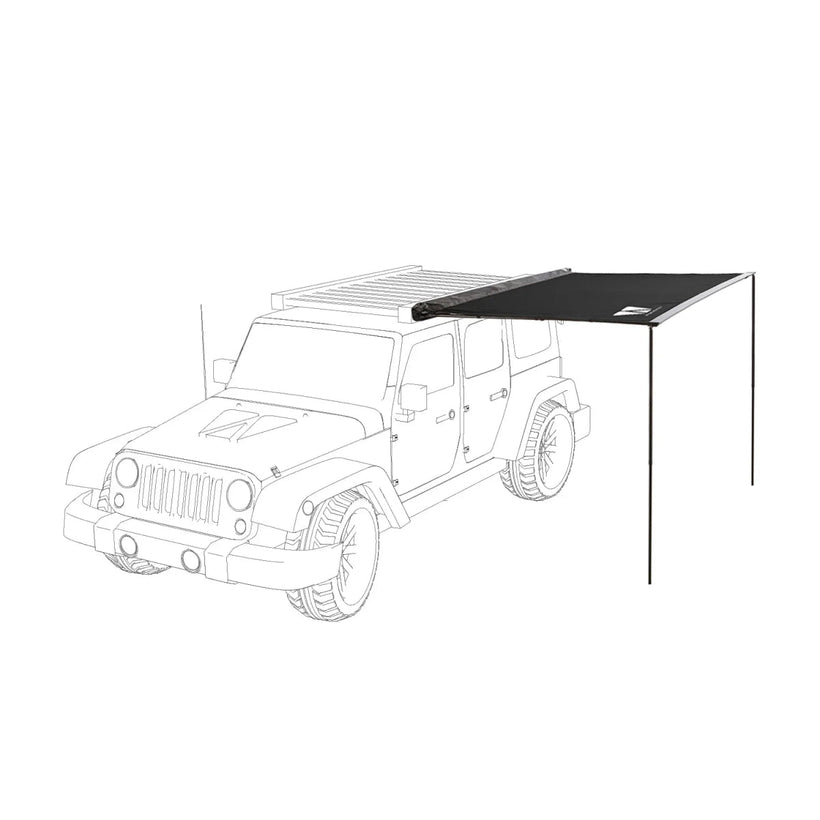
Installing a vehicle awning on your roof rack can be done in under an hour with the right accessories. This guide shows you, step-by-step, what’s important – from the right bracket to final alignment.
Before you start: the right bracket
It is crucial that the awning and the roof rack are compatible. Most vehicle awnings are screwed onto the profile rails of the roof rack using L or T adapters. You can find the appropriate awning brackets and mounting kits in our shop – if in doubt, we will advise you on the right combination for your vehicle.
What you need
- Vehicle awning incl. mounting rails
- Suitable brackets/adapters for your roof rack
- Hex key/spanner set
- Tape measure and, if necessary, torque wrench
- A second person
Installation in 6 steps
- Check the roof rack: Is the rack securely fastened and approved for the awning's weight? Clean the profile rails.
- Pre-assemble adapters: Loosely slide the brackets or T-slot nuts into the rail – do not tighten yet.
- Lift the awning: With two people, raise the awning to height and hook the mounting rail onto the adapters.
- Align: Check position – awning parallel to the vehicle, clear extension direction, observe distance to doors and flaps.
- Screw: Tighten all screws evenly in a cross pattern (observe manufacturer's specifications / torque).
- Function test: Extend and retract the awning completely once, check support legs, re-check all screw connections.
Tip: After the first few journeys, re-tighten all screws – they can settle slightly due to vibrations. When driving on motorways, observe the manufacturer's maximum speed clearance.
Which awning suits your setup?
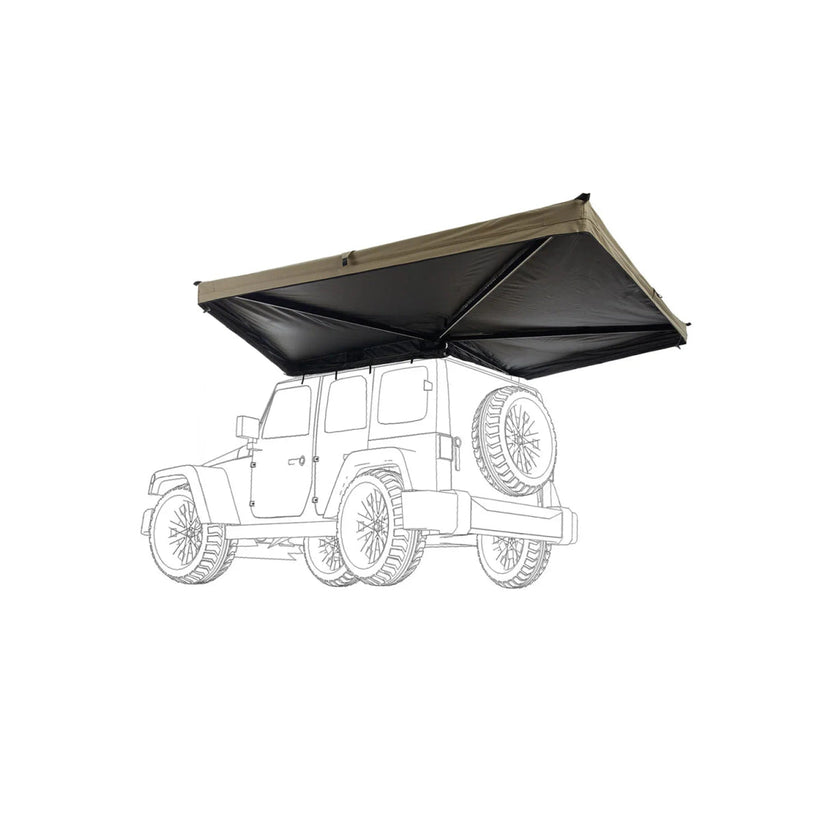
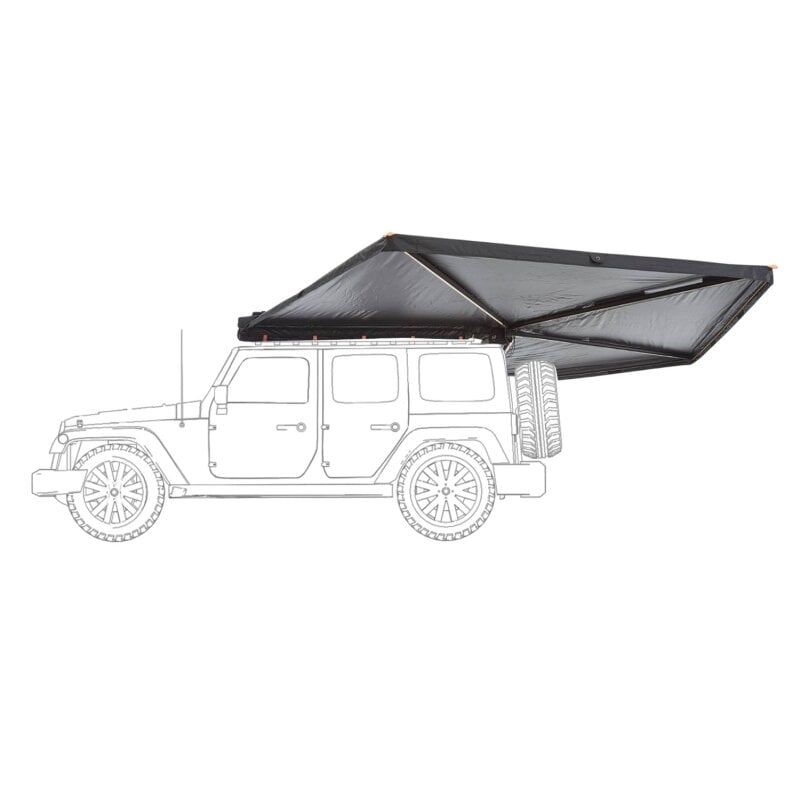
Still unsure about the design? Our buying guide can help. Choose from: 270° awnings, side awnings, and rear awnings.
Still unsure about your choice?
We'll advise you personally on the right awning.